


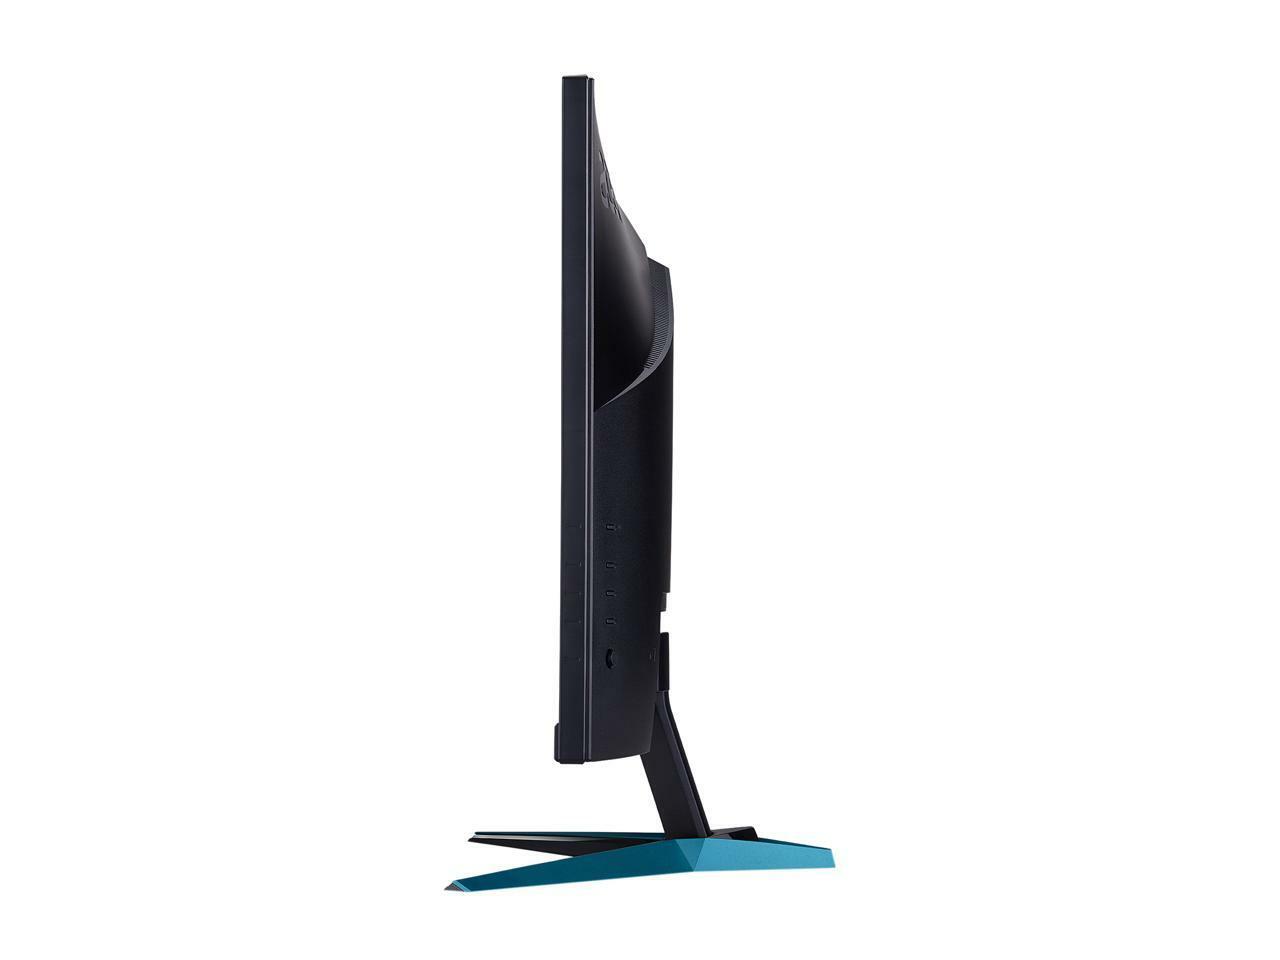
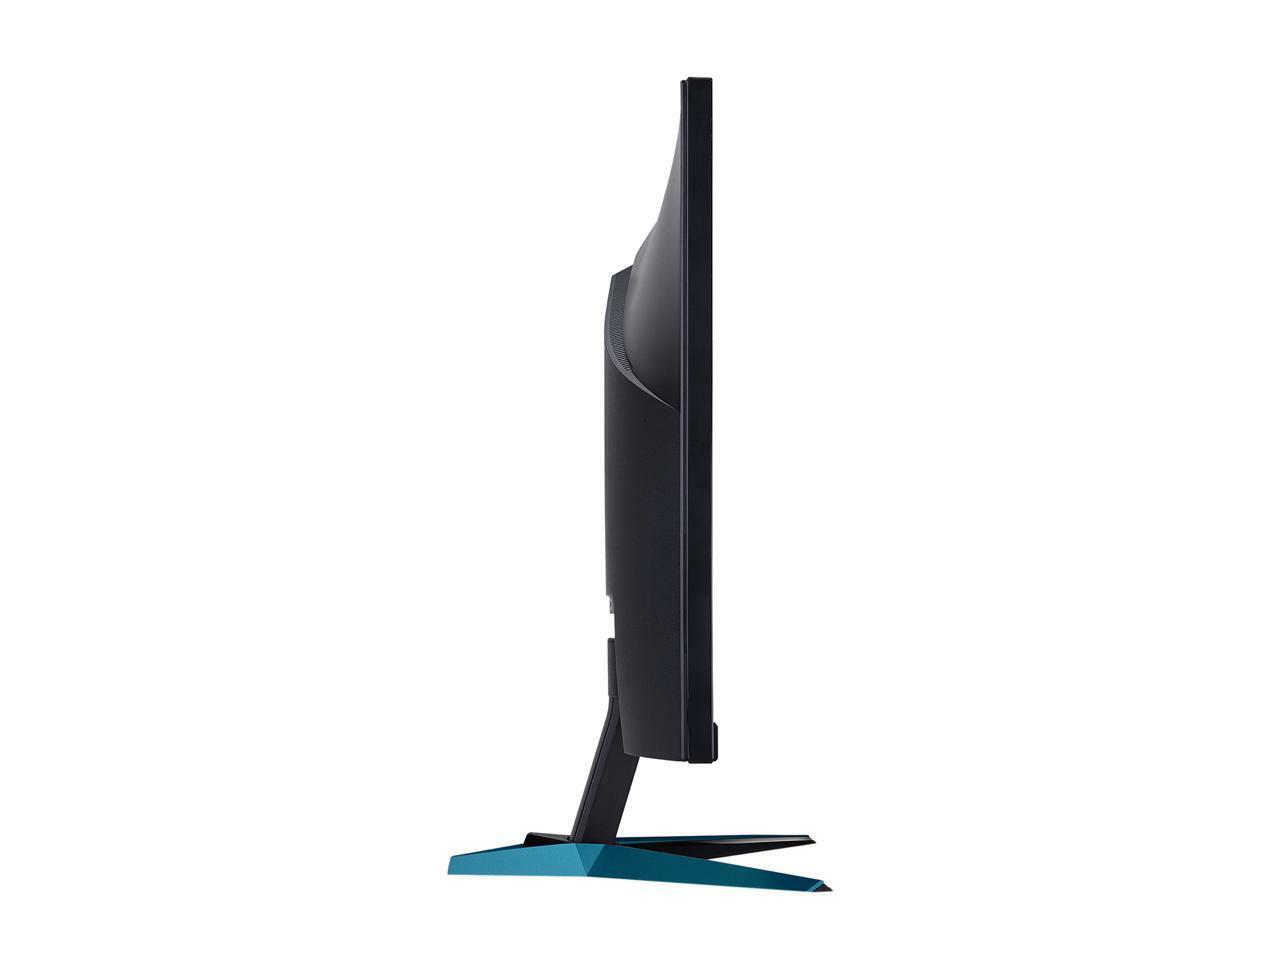

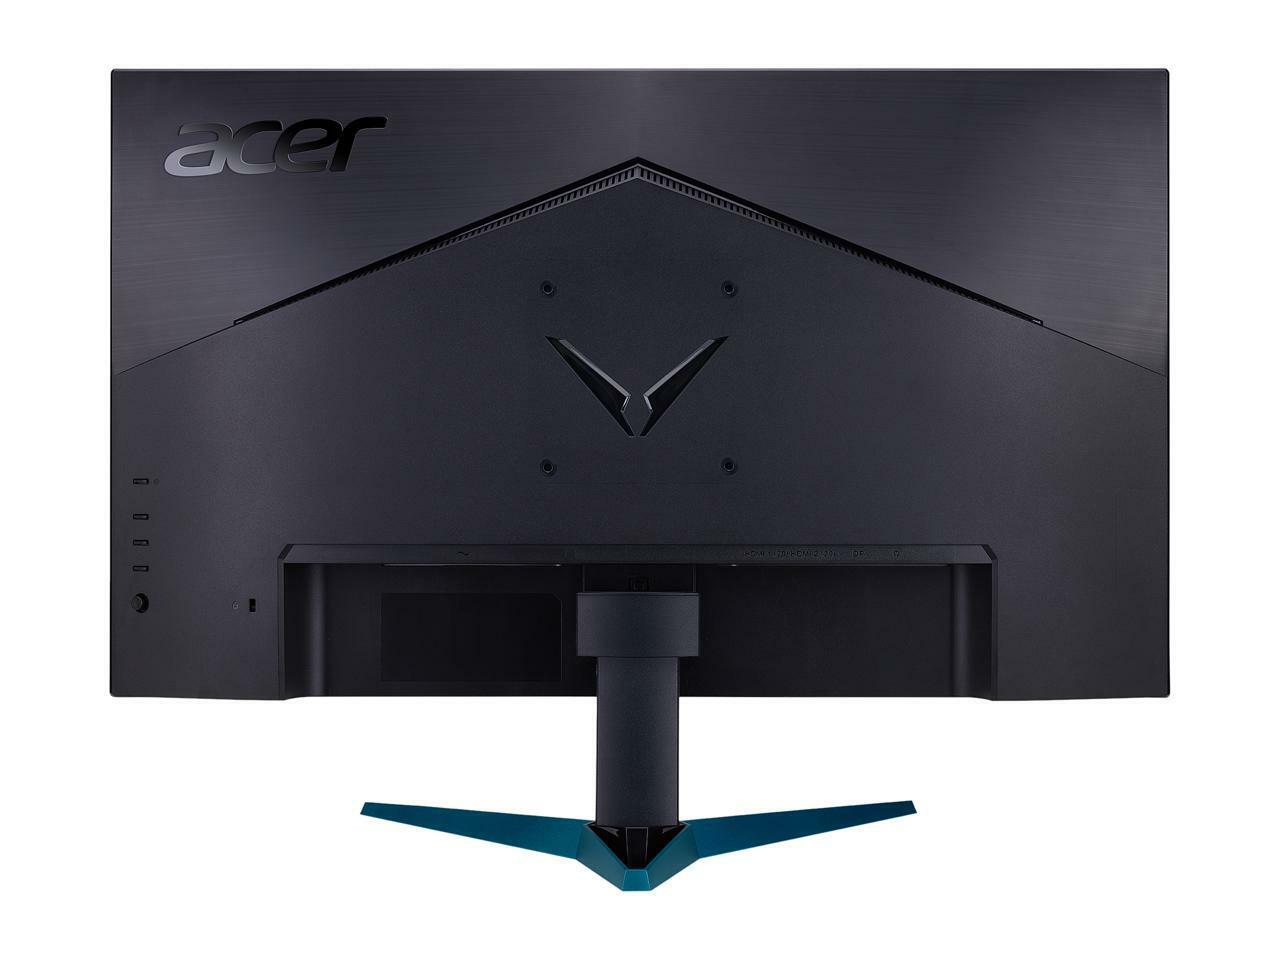

Acer Nitro VG281K bmiipx 28-inch UHD 4K Monitor – 3840 x 2160, 60Hz Refresh Rate, HDMI, DisplayPort, Audio Support,
How to Use the Acer Nitro VG281K bmiipx 28″ UHD Monitor
Setting up the Monitor
- Remove all packaging materials and accessories from the box.
- Place the monitor on a stable surface.
- Connect the power cable to the monitor and a power outlet.
- Connect your computer to the monitor using the appropriate cable (HDMI or DisplayPort).
- Turn on the monitor by pressing the power button.
Adjusting Settings
You can easily modify the monitor settings using the Display Widget utility software.
- Download and install the Display Widget software from the Acer website.
- Launch the Display Widget software on your computer.
- Make the desired adjustments to the monitor settings using the software interface.
Selecting Gaming Modes
The monitor offers various gaming and non-gaming modes with unique color profiles. You can customize the modes for each app to automatically switch to your preferred settings.
- Access the monitor menu by pressing the menu button on the monitor.
- Navigate to the “Gaming Modes” or “Color Profiles” section.
- Select the desired mode/profile for your app or game.
Using AMD Radeon FreeSync
To eliminate choppy gameplay and visual tearing, you can utilize AMD Radeon FreeSync technology if you have a compatible Radeon GPU.
- Ensure your monitor is connected to your computer using a DisplayPort cable.
- Make sure you have a compatible Radeon GPU with a DisplayPort connection.
- Install the latest Radeon Software graphics driver on your computer.
- Enable AMD Radeon FreeSync in your graphics driver settings.
Protecting Your Eyes
Acer BlueLightShield and Flickerless technologies help reduce eye strain during long gaming sessions.
- Access the monitor menu by pressing the menu button on the monitor.
- Navigate to the “Eye Protection” or “Blue Light Filter” section.
- Enable BlueLightShield and/or Flickerless to reduce eye strain.
Mounting the Monitor (Optional)
If you want to mount the monitor on a wall or monitor arm, make sure to use a compatible VESA mount.
- Remove the monitor stand if attached.
- Attach the VESA mount to the back of the monitor using the provided screws.
- Secure the VESA mount to a wall or monitor arm according to their respective instructions.
Further Assistance
If you encounter any issues or need further assistance, refer to the user manual provided with the monitor or visit the Acer website for support.
, , Acer





Reviews
There are no reviews yet.