
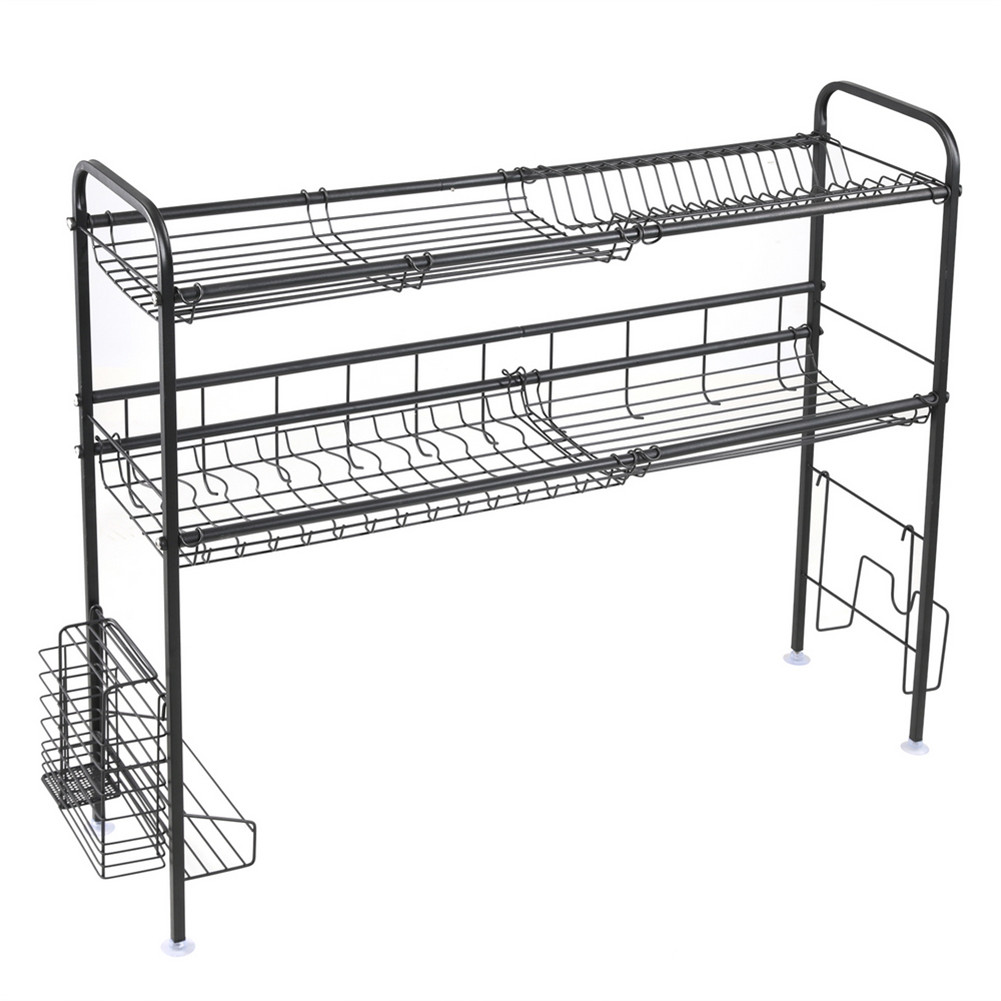

US Dish Drainer Rack Kitchen Organizer,
How to Use the US Single Layer Bowl Rack Shelf Dish Drainer
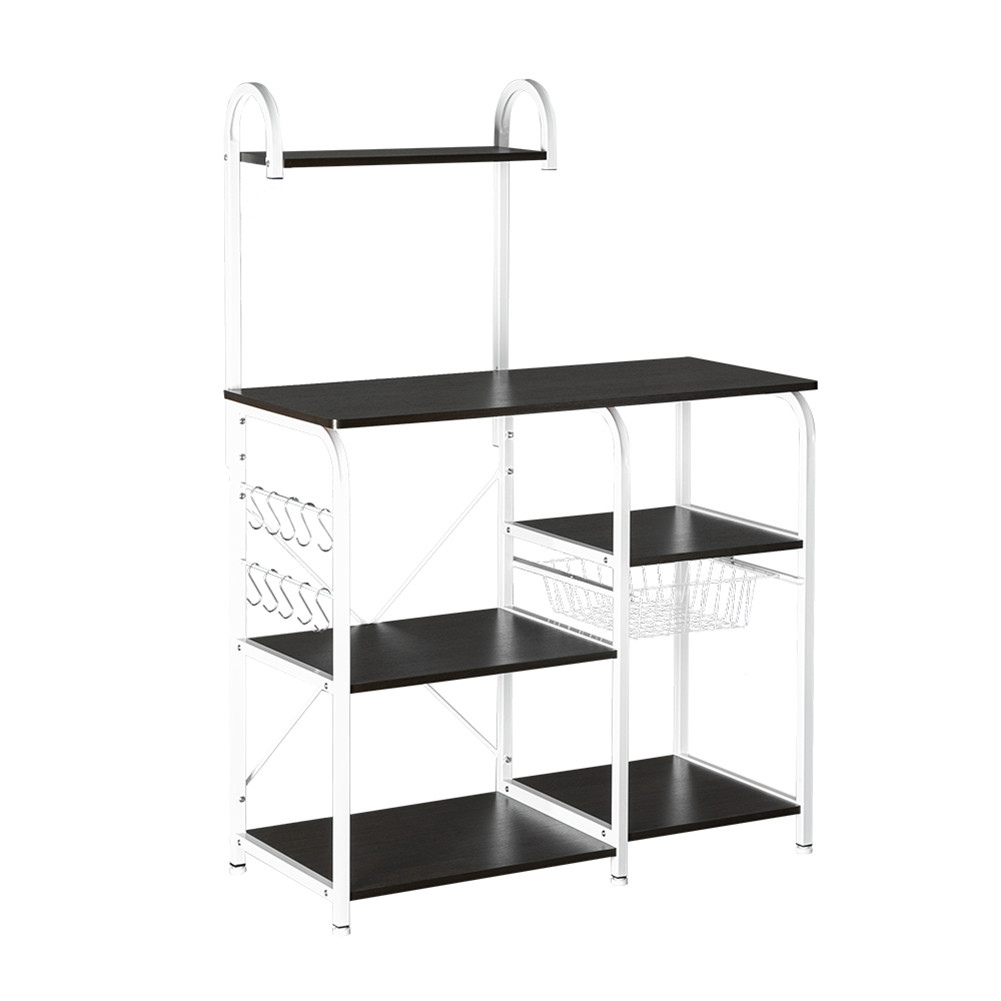
Step 1: Assembly
- Unpack all the parts from the packaging.
- Take out the main frame, side frames, and the tray.
- Slide the side frames into the designated slots on the main frame.
- Make sure the side frames are securely attached to the main frame.
- Place the tray on top of the side frames.
- Ensure that the tray is properly aligned and sits evenly on the side frames.
Step 2: Placement
- Choose a suitable location in your kitchen for the dish drainer.
- Make sure the surface is flat and stable.
- Place the dish drainer on the selected spot.
Step 3: Dish Organization
- After washing your dishes, place them on the rack.
- Use the tray to hold bowls, spoons, chopsticks, and other utensils.
- Arrange the dishes and utensils neatly, making use of the available space.
Step 4: Cleaning and Maintenance
- Regularly clean the dish drainer to ensure hygiene.
- Wipe the surface with a soft cloth or sponge.
- Do not use abrasive cleaning agents or rough materials that may scratch the surface.
- Check for any loose parts and tighten them if necessary.
Enjoy the convenience and organization provided by the US Single Layer Bowl Rack Shelf Dish Drainer to keep your kitchen clean and tidy!
, ,

Reviews
There are no reviews yet.