
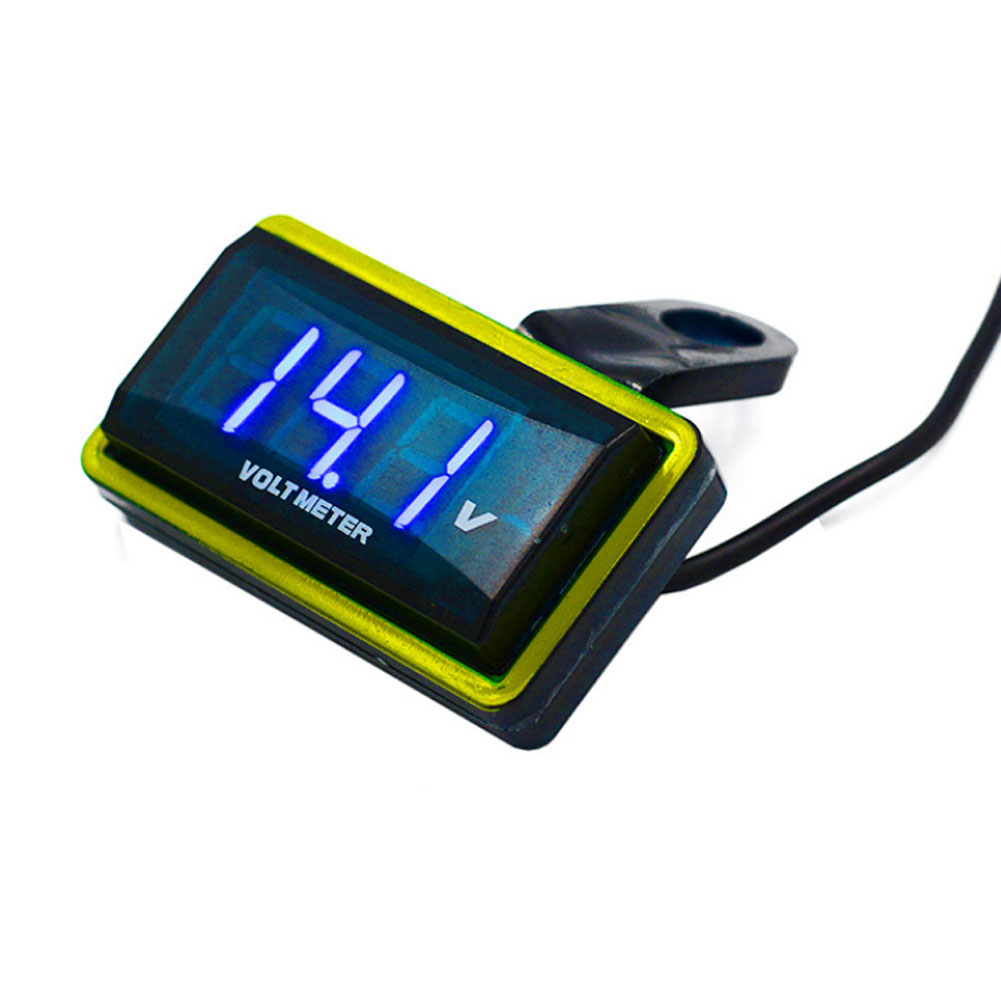

12V Car Voltmeter with Digital LED Display,
How to use the 12v Universal Car Voltmeter Voltage Gauge Panel Meter Car Digital Led Display With Bracket For Car Motorcycle Motor Bike Blue-light
Step 1: Gather the necessary tools
- 12V Universal Car Voltmeter Voltage Gauge Panel Meter
- Bracket
- Screwdriver
- Wire strippers
- Electrical tape
Step 2: Prepare for installation
- Identify a suitable location on your car or motorcycle’s dashboard for the volt meter.
- Ensure the location is easily visible and convenient for monitoring the voltage.
- Mount the bracket securely on the chosen location using the provided screws and screwdriver.
- Make sure the bracket is firm and stable before proceeding.
Step 3: Wiring
- Locate a suitable power source on your vehicle to connect the volt meter.
- Using wire strippers, strip a small portion of the insulation from both ends of the red and white wires of the volt meter.
- Connect the white wire to the vehicle’s ground wire by twisting them together securely.
- Connect the red wire to a 12V power source in your vehicle, making sure to use proper electrical connectors or soldering for a secure and reliable connection.
- Use electrical tape or heat shrink tubing to insulate and protect the connections.
Step 4: Final steps
- Double-check all connections for secureness and proper insulation.
- Ensure the volt meter is securely mounted on the bracket.
- Turn on your vehicle’s power or start the engine to activate the volt meter.
- The digital LED display of the volt meter will now show the current voltage of your car or motorcycle.
Congratulations! You have successfully installed and set up the 12v Universal Car Voltmeter Voltage Gauge Panel Meter Car Digital Led Display With Bracket For Car Motorcycle Motor Bike Blue-light. You can now easily monitor the voltage of your vehicle at any time.
, ,

![Car Holder Clip Mount Dashboard Car Phone Holder 360 Rotatable Stand Mount Display GPS Bracket [dashboard clips]](https://cdn.chv.me/images/PjZw0u-b.jpeg "Car Holder Clip Mount Dashboard Car Phone Holder 360 Rotatable Stand Mount Display GPS Bracket [dashboard clips]")

Reviews
There are no reviews yet.