
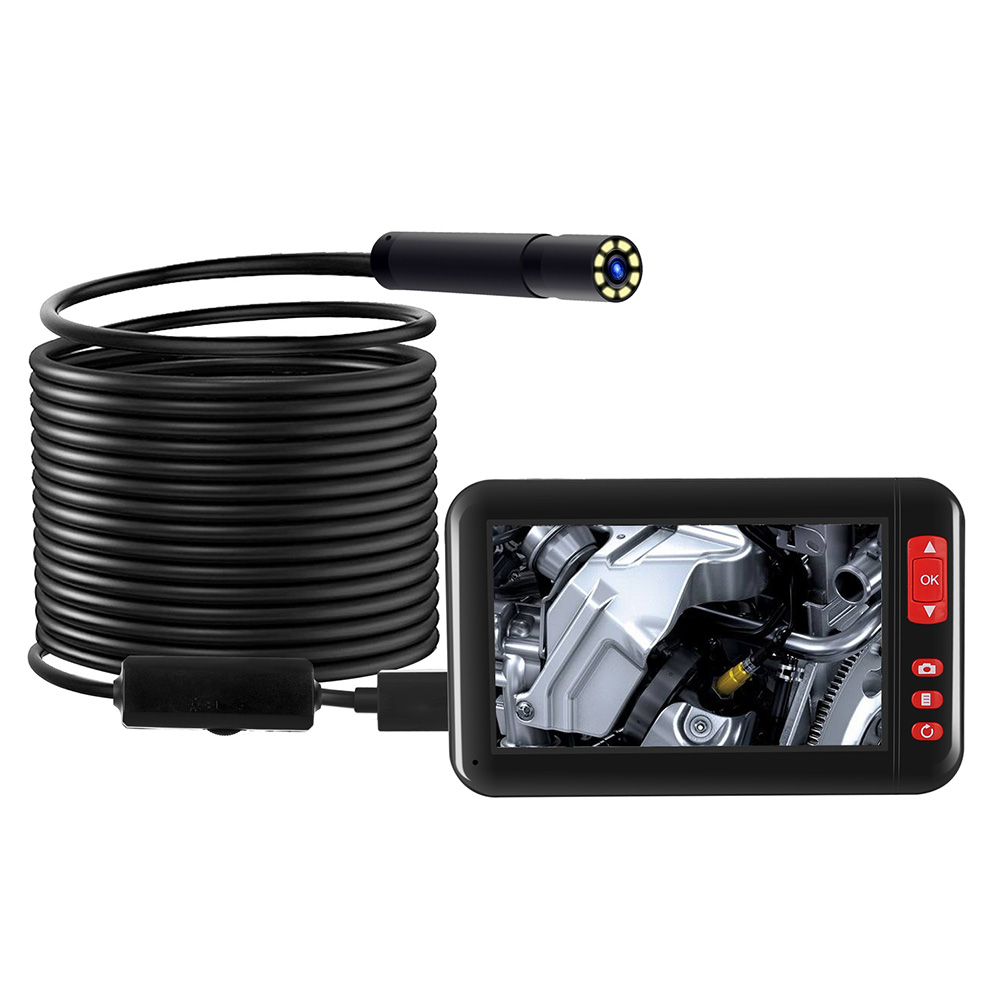

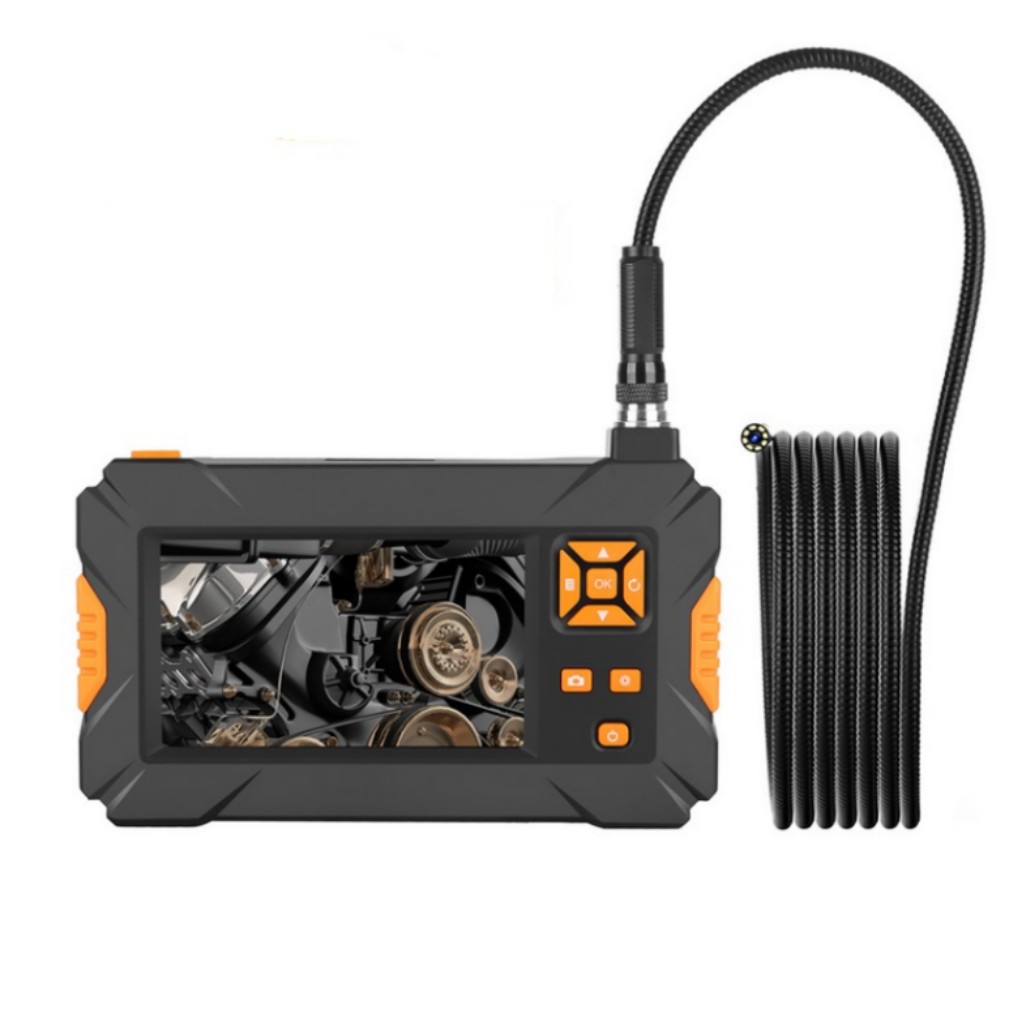
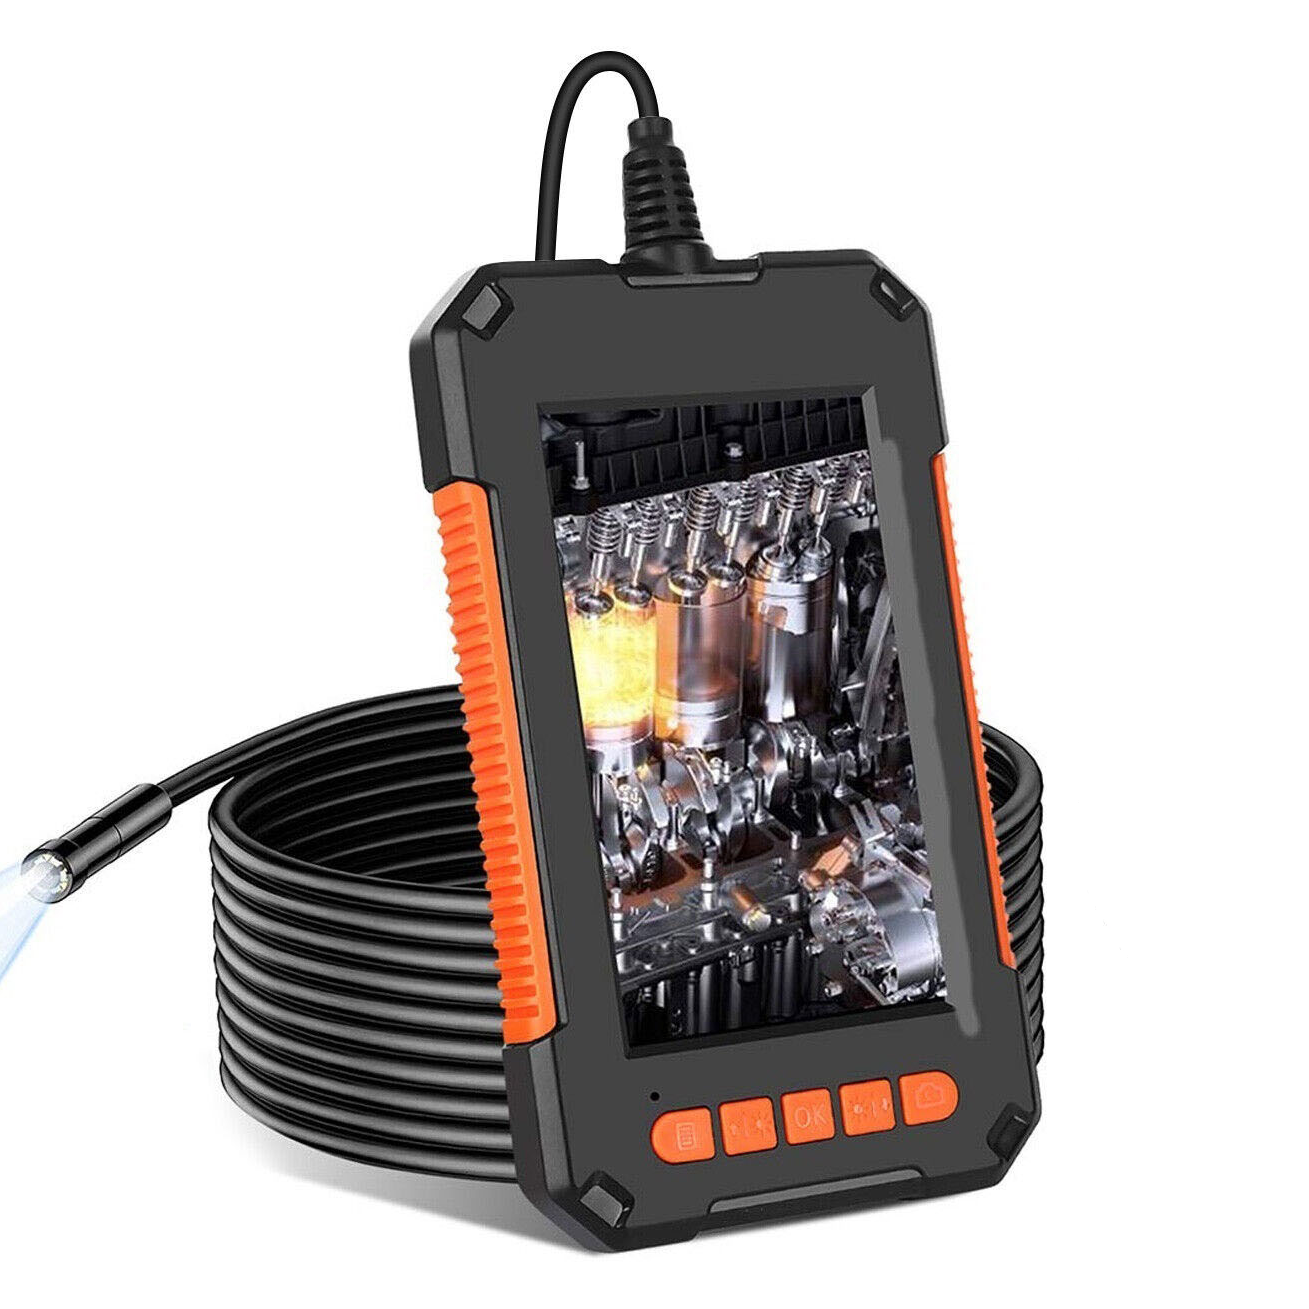
Industrial Endoscope Borescope Inspection Camera with 4.3inch HD 1080P Display Screen, 8 LEDs, 8mm Lens, Built-in 2000mAh Rechargeable Lithium Battery, and 5m Cable,
How to Use the Industrial Endoscope Borescope Inspection Camera
Step 1: Charging the Battery
- Connect the camera to a USB device using the provided cable.
- Ensure the camera is turned off.
- The LED indicator will turn red to indicate charging and will turn off when the battery is fully charged.
Step 2: Turning on the Camera
- Press and hold the power button located on the control unit to turn on the camera.
Step 3: Adjusting the LED Lights
- Use the LED brightness control buttons to adjust the intensity of the built-in LED lights.
- Find the optimal brightness setting for your inspection needs.
Step 4: Using the Display Screen
- The 4.3-inch HD 1080P display screen provides a clear view of the inspection area.
- Position the camera probe to the desired area and view the live feed on the display screen.
Step 5: Capturing Photos or Recording Videos
- Insert a TF card into the designated slot on the control unit.
- Press the photo or video button to capture photos or start/stop video recording.
Step 6: Exploring Hard-to-Reach Areas
- Utilize the soft and flexible wire to bend and navigate through curved holes or obstacles.
- Gently maneuver the camera probe to inspect the desired area.
Step 7: Waterproof Function
- The IP67 waterproof function allows you to use the camera underwater or in wet environments.
- Exercise caution when submerged and ensure the camera is dry before storage.
Step 8: Turning off the Camera
- Press and hold the power button to turn off the camera.
- Ensure the camera is safely stored in a dry location.
, ,


Reviews
There are no reviews yet.