
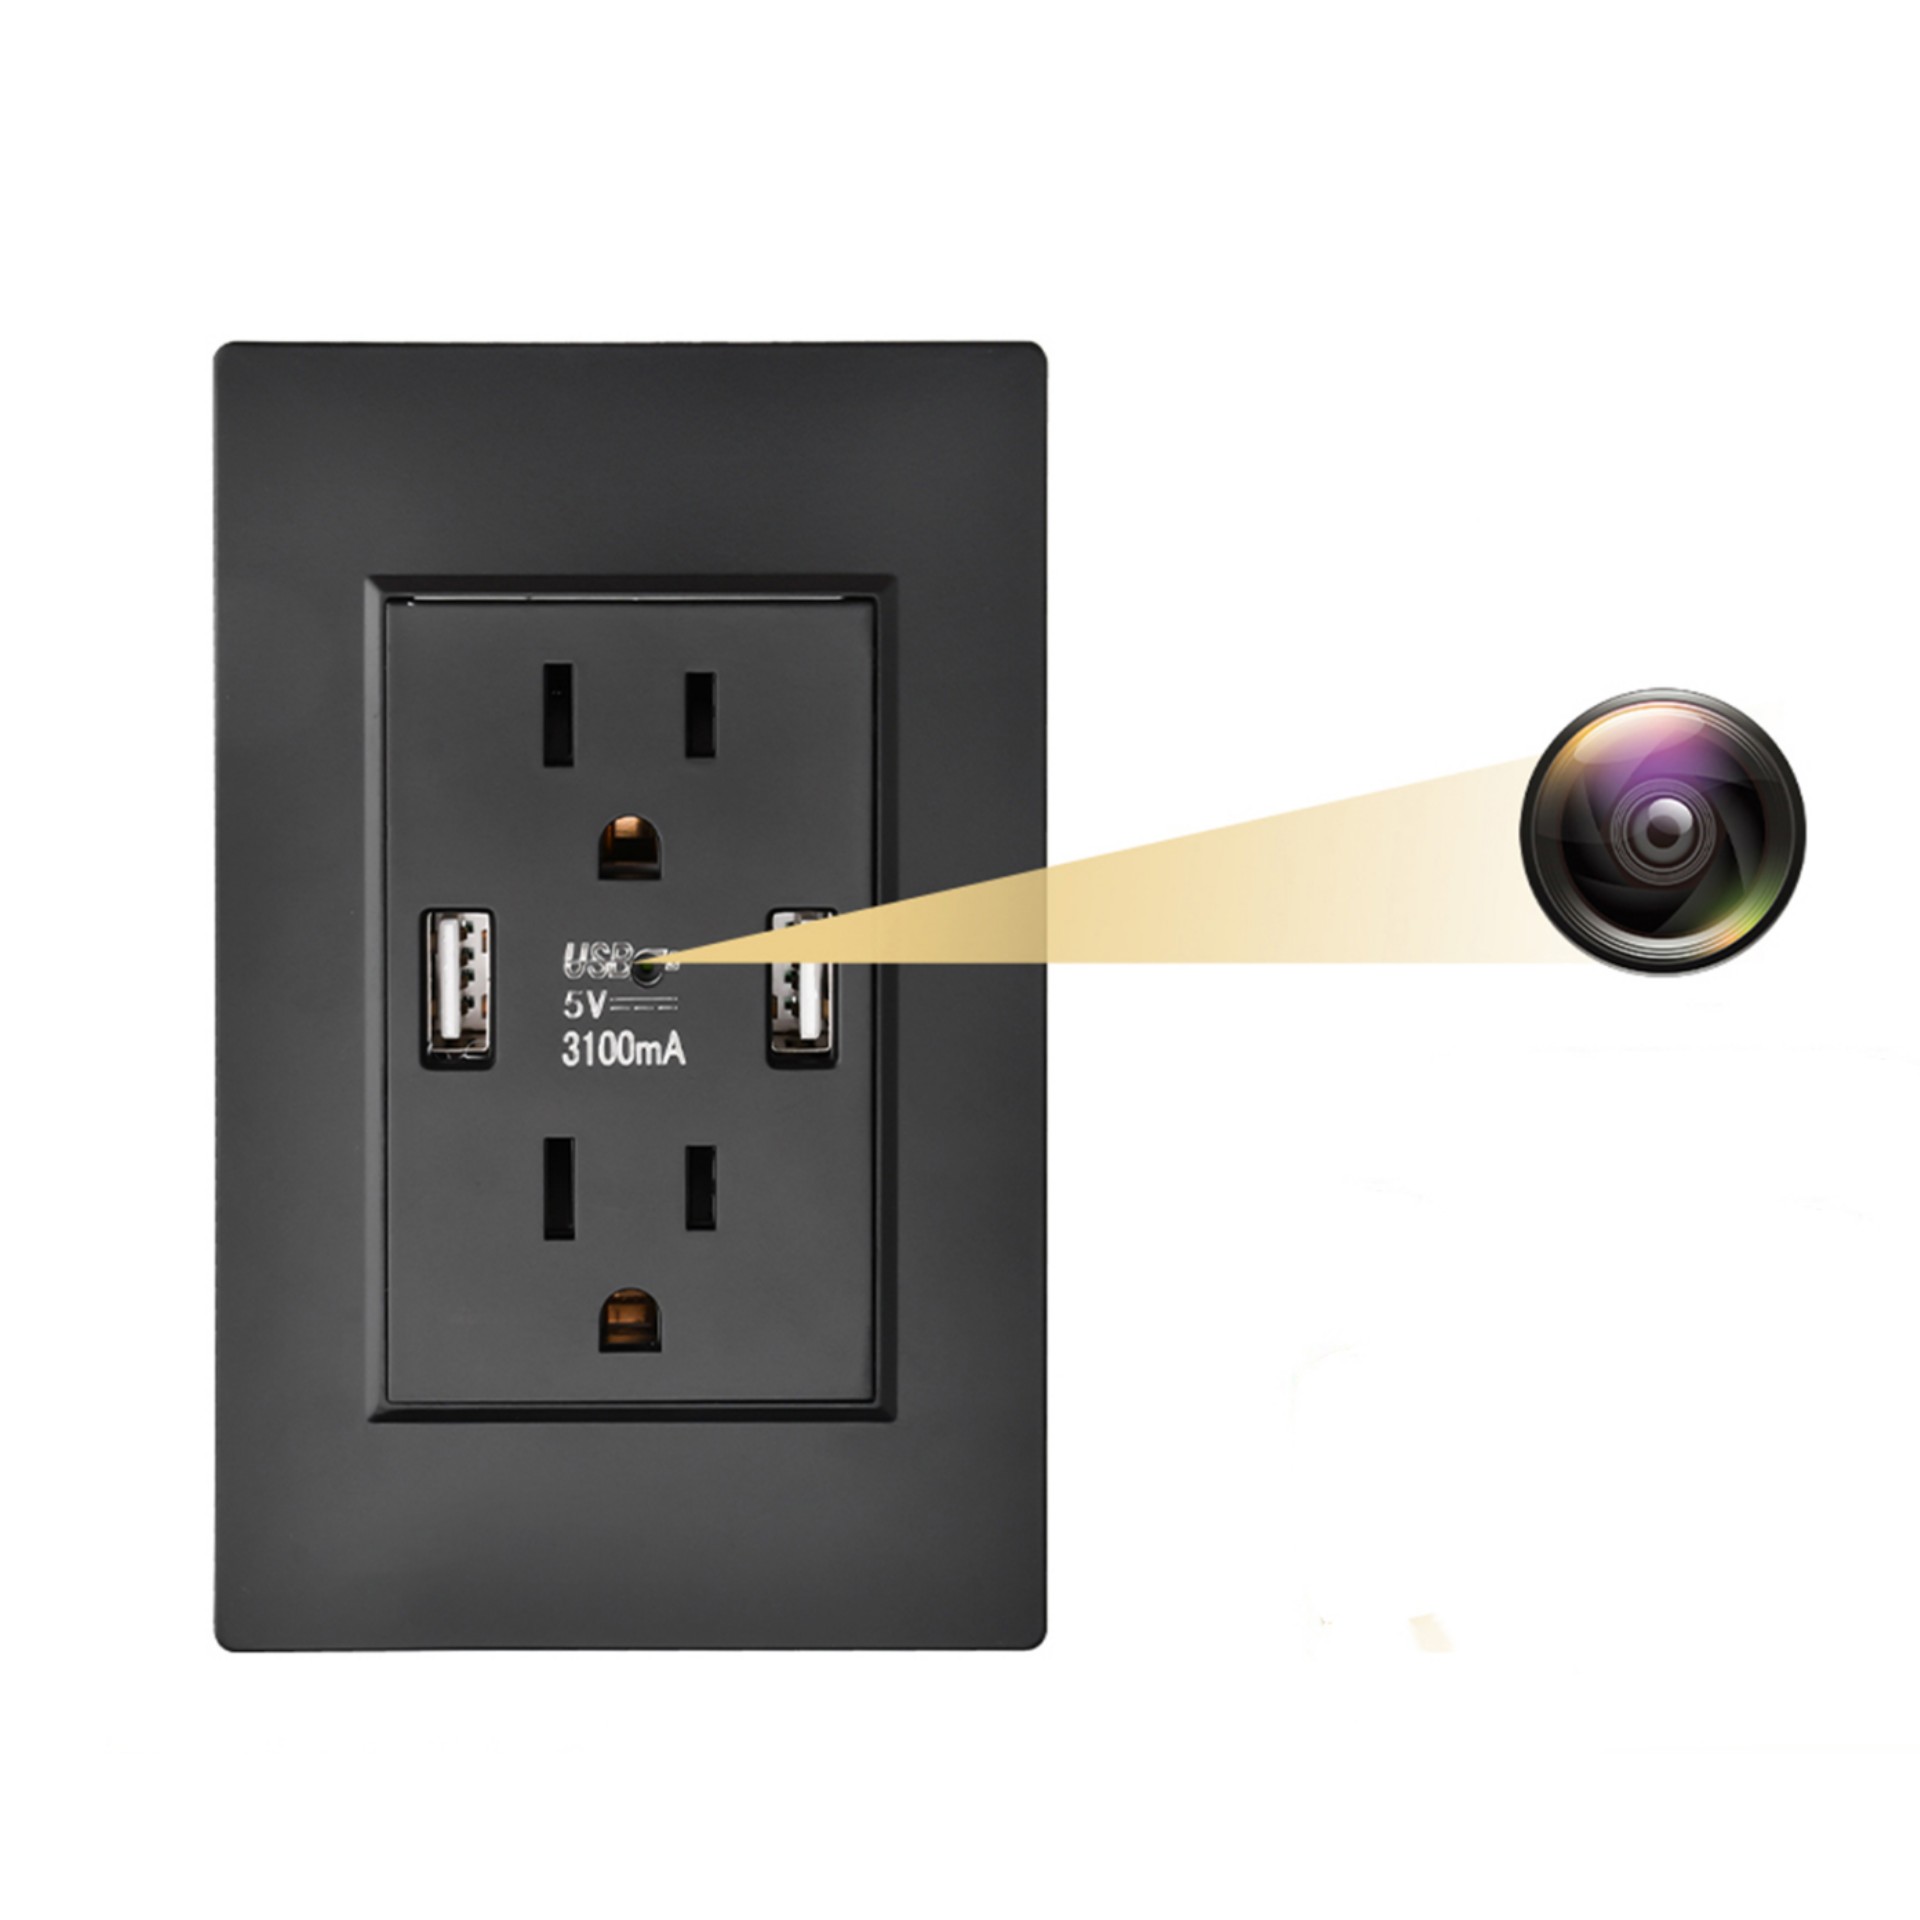

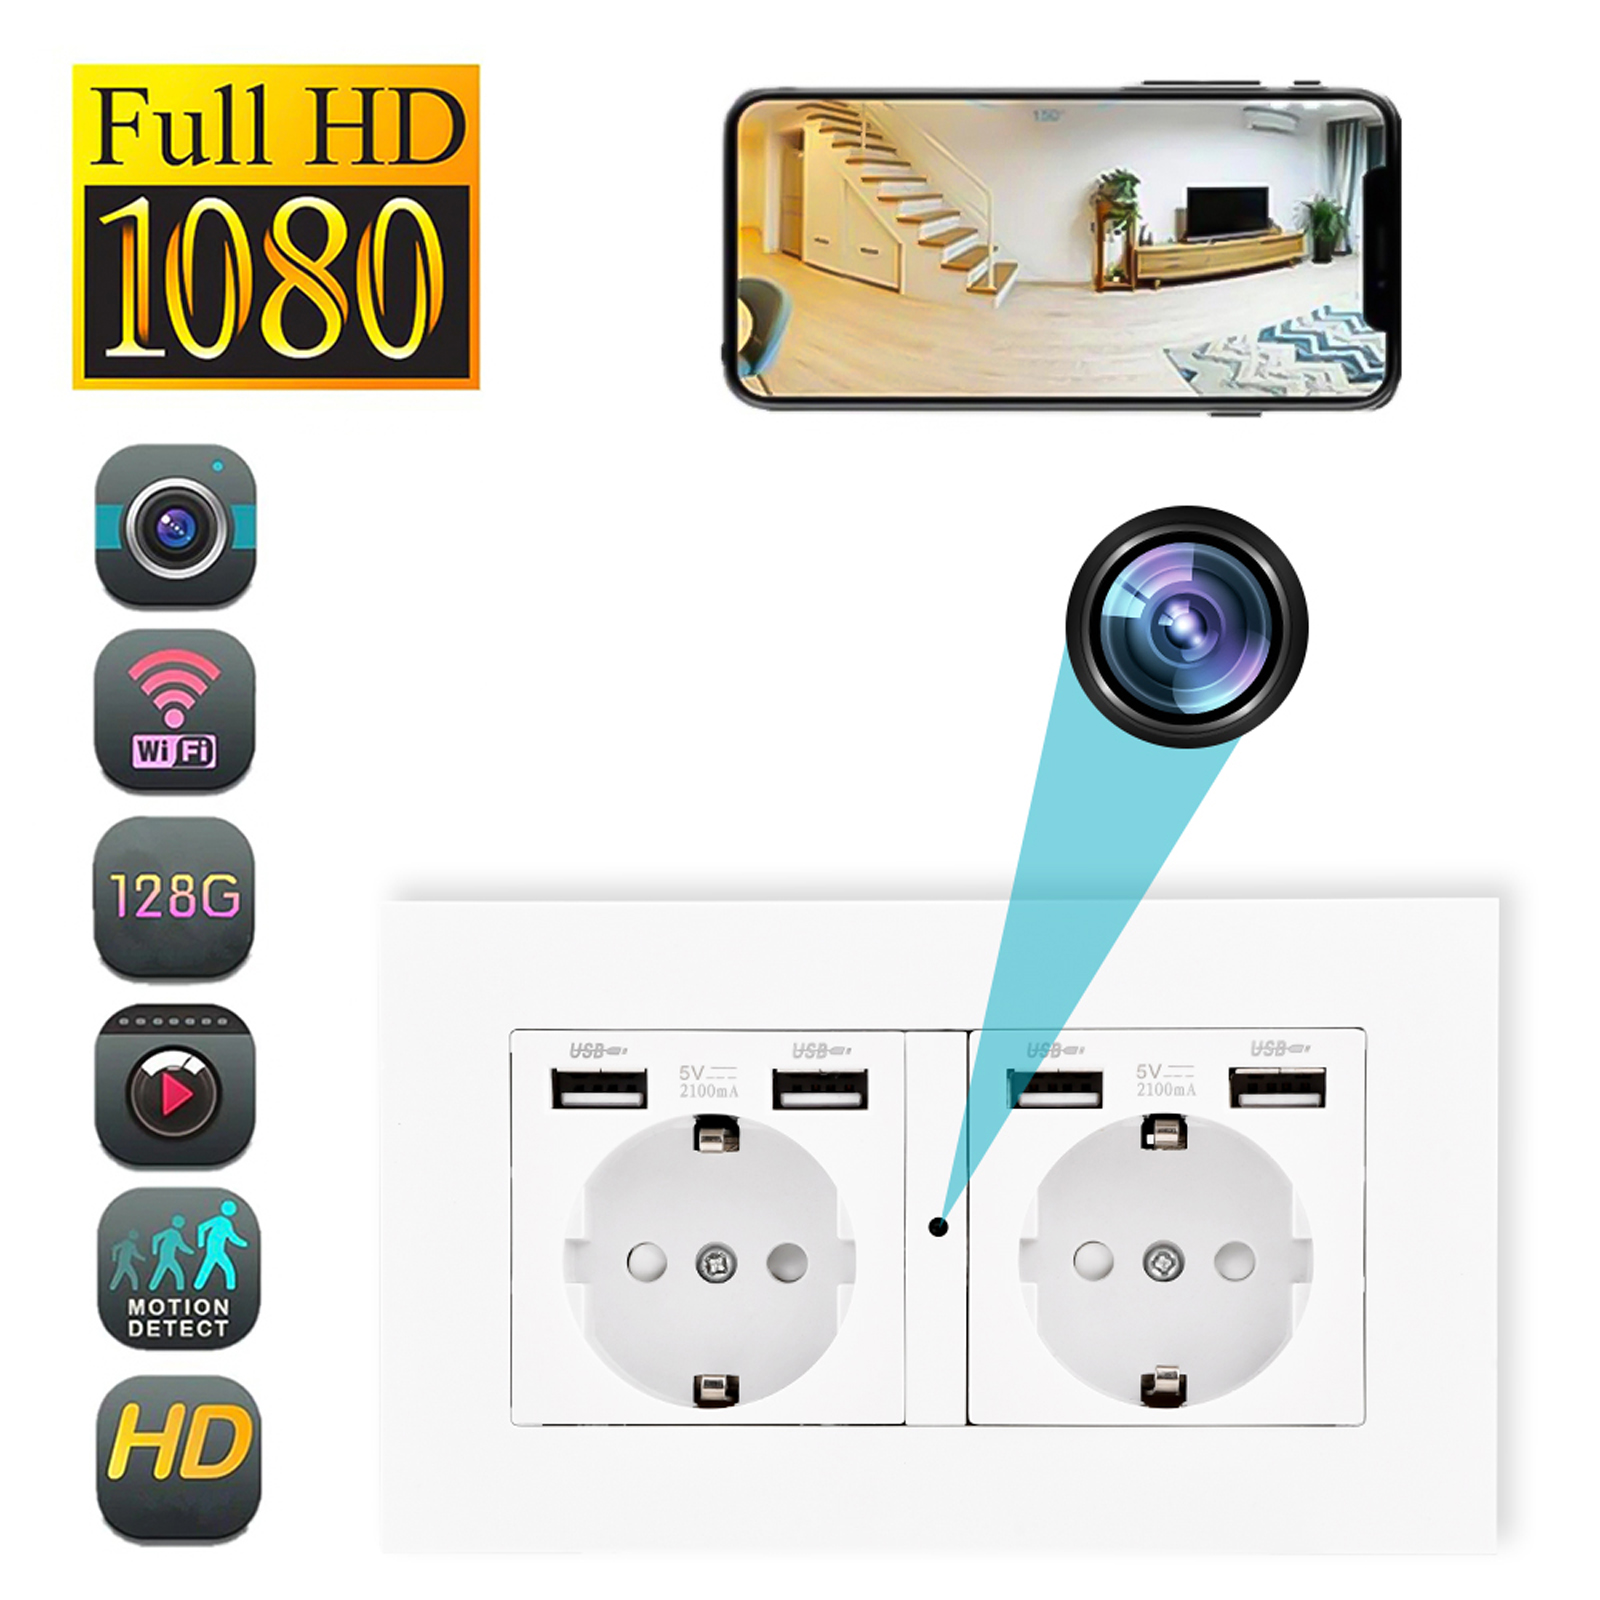
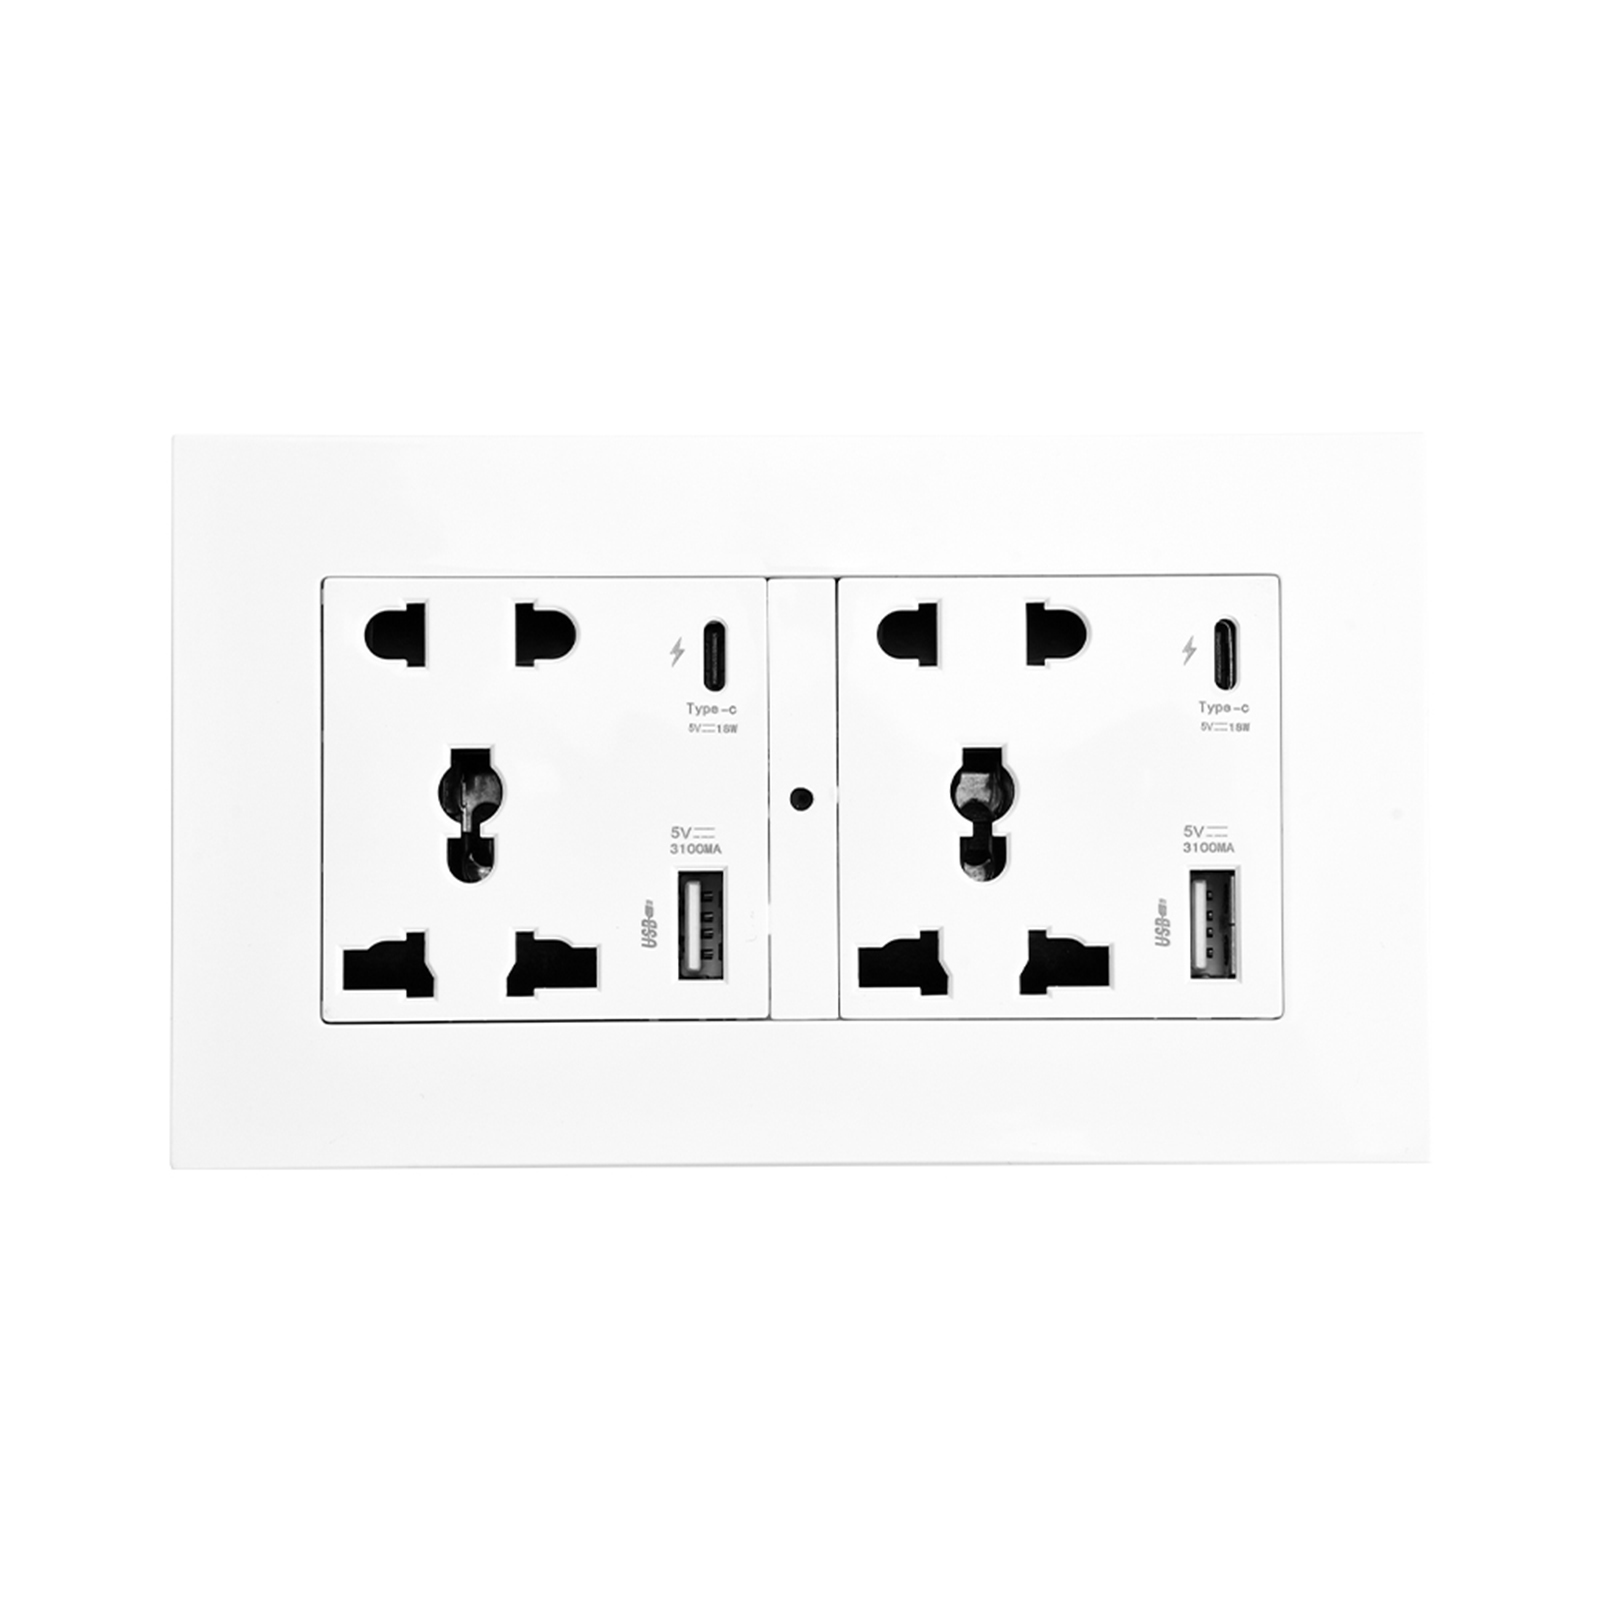
Black Q9 Wall Outlet Camera with USB Interface, Wifi Remote Monitoring, Night Vision and Motion Detection,
How to Use the 1080P Wall Outlet Camera with USB Interface Wifi Remote Monitoring Night Vision Motion Detection Security Cam Q9 Black
Step 1: Installation
- Choose a suitable location for the socket camera, ensuring it is near a power outlet and has a clear view of the area you want to monitor.
- Plug the socket camera into the power outlet.
- Connect the camera to your home Wi-Fi network by following the instructions provided in the user manual.
Step 2: Downloading the App
- Go to the App Store or Google Play Store on your smartphone or tablet.
- Search for the “Camera Monitoring” app and download it.
- Launch the app after installation.
Step 3: Setting up the Camera
- Open the “Camera Monitoring” app.
- Tap on the “+” icon to add a new camera.
- Follow the on-screen instructions to connect the camera to your app.
Step 4: Monitoring and Recording
- Once the camera is successfully connected, you can start monitoring and recording activities.
- Use the app to view live video feeds from the camera.
- Enable motion detection in the app settings to receive notifications on your phone when movement is detected.
- Insert a TF memory card into the socket camera to enable recording and storage.
- You can access the recorded videos through the app and download them to your device if needed.
That’s it! You are now ready to use the 1080P Wall Outlet Camera with USB Interface Wifi Remote Monitoring Night Vision Motion Detection Security Cam Q9 Black. Enjoy secure monitoring and never miss any important moment!
, ,

Reviews
There are no reviews yet.