
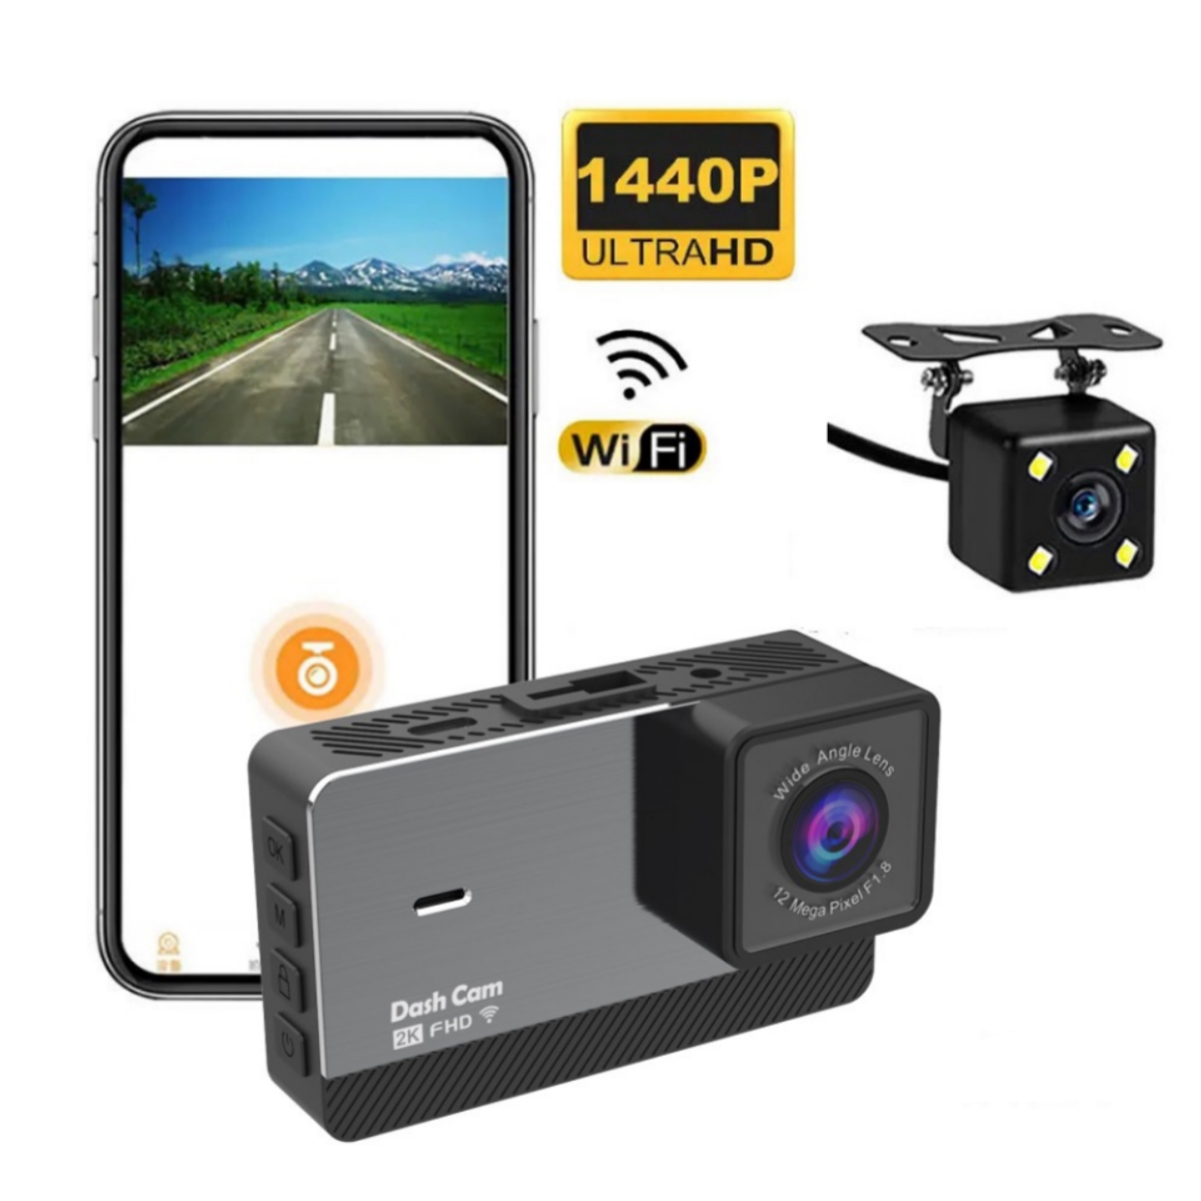

2k HD Driving Recorder with Wifi,
How to Use the 2k HD Driving Recorder
Step 1: Setting Up the Driving Recorder
- Mount the driving recorder on your vehicle’s dashboard or windshield using the provided mounting bracket and adhesive.
- Connect the power cable to the driving recorder and the car’s cigarette lighter socket.
- Ensure the driving recorder is securely attached and positioned correctly for optimal recording.
Step 2: Operating the Driving Recorder
- Power On: Plug in the driving recorder to turn it on automatically. The 3.0-inch display screen should light up.
- Recording: The driving recorder starts recording automatically once it is powered on. It records in both front and rear directions simultaneously.
- Reviewing Footage: To review recorded footage, press the playback button on the driving recorder. Navigate through the footage using the buttons or touch screen.
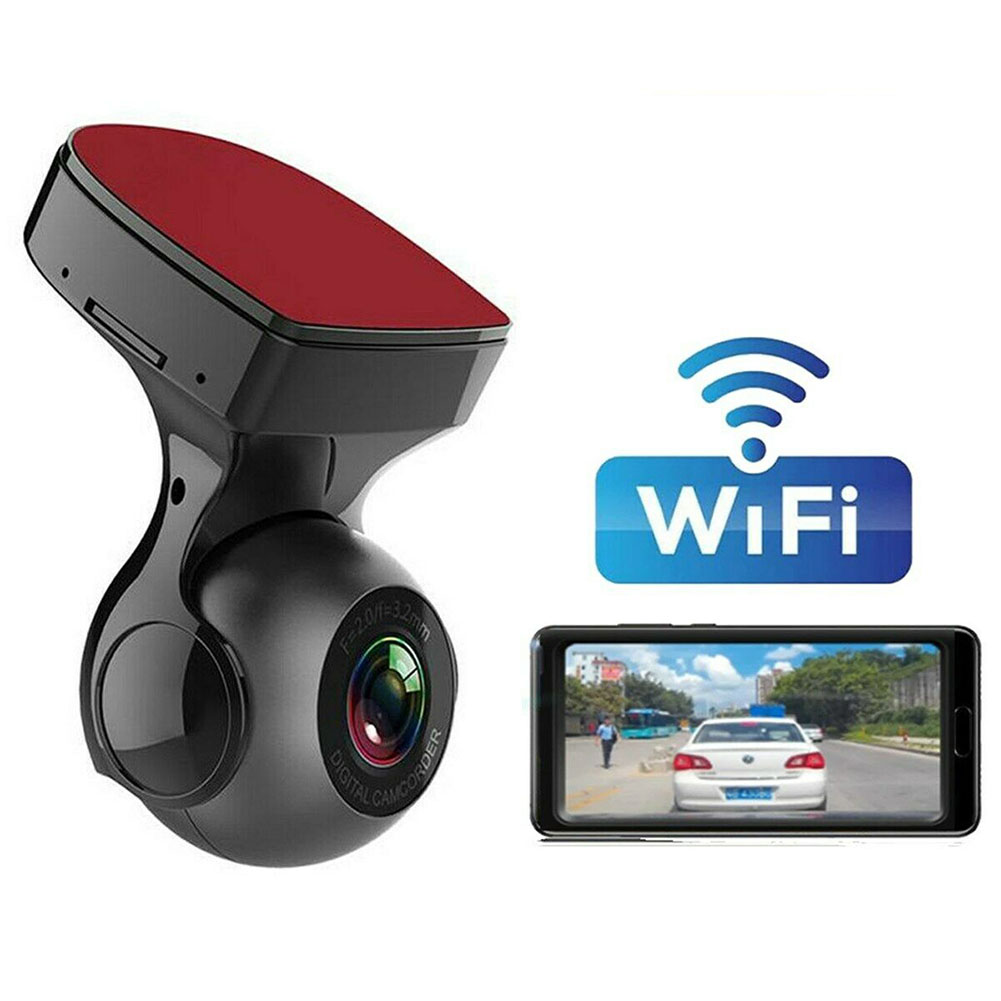
- Wifi Mobile Phone Interconnection: Connect your mobile phone to the driving recorder’s Wifi signal to transfer and view footage on your phone.
- Automatic Reverse Image: When reversing the vehicle, the driving recorder automatically switches to the rear mode screen to display the rear road image. Use this feature to assist in parking or backing up.
Step 3: Troubleshooting
- If you encounter any issues with the driving recorder, refer to the user manual for specific instructions.
- If the driving recorder does not power on, ensure that it is properly connected to the car’s power socket.
- If the driving recorder’s display screen is not functioning properly, try resetting the device or contact customer support for further assistance.
Step 4: Customer Support
If you have any questions or need assistance with the product, please feel free to reach out to our customer support team. We are here to help and provide a pleasant shopping experience.
, ,
![Car Holder Clip Mount Dashboard Car Phone Holder 360 Rotatable Stand Mount Display GPS Bracket [dashboard clips]](https://cdn.chv.me/images/PjZw0u-b.jpeg "Car Holder Clip Mount Dashboard Car Phone Holder 360 Rotatable Stand Mount Display GPS Bracket [dashboard clips]")

Reviews
There are no reviews yet.