
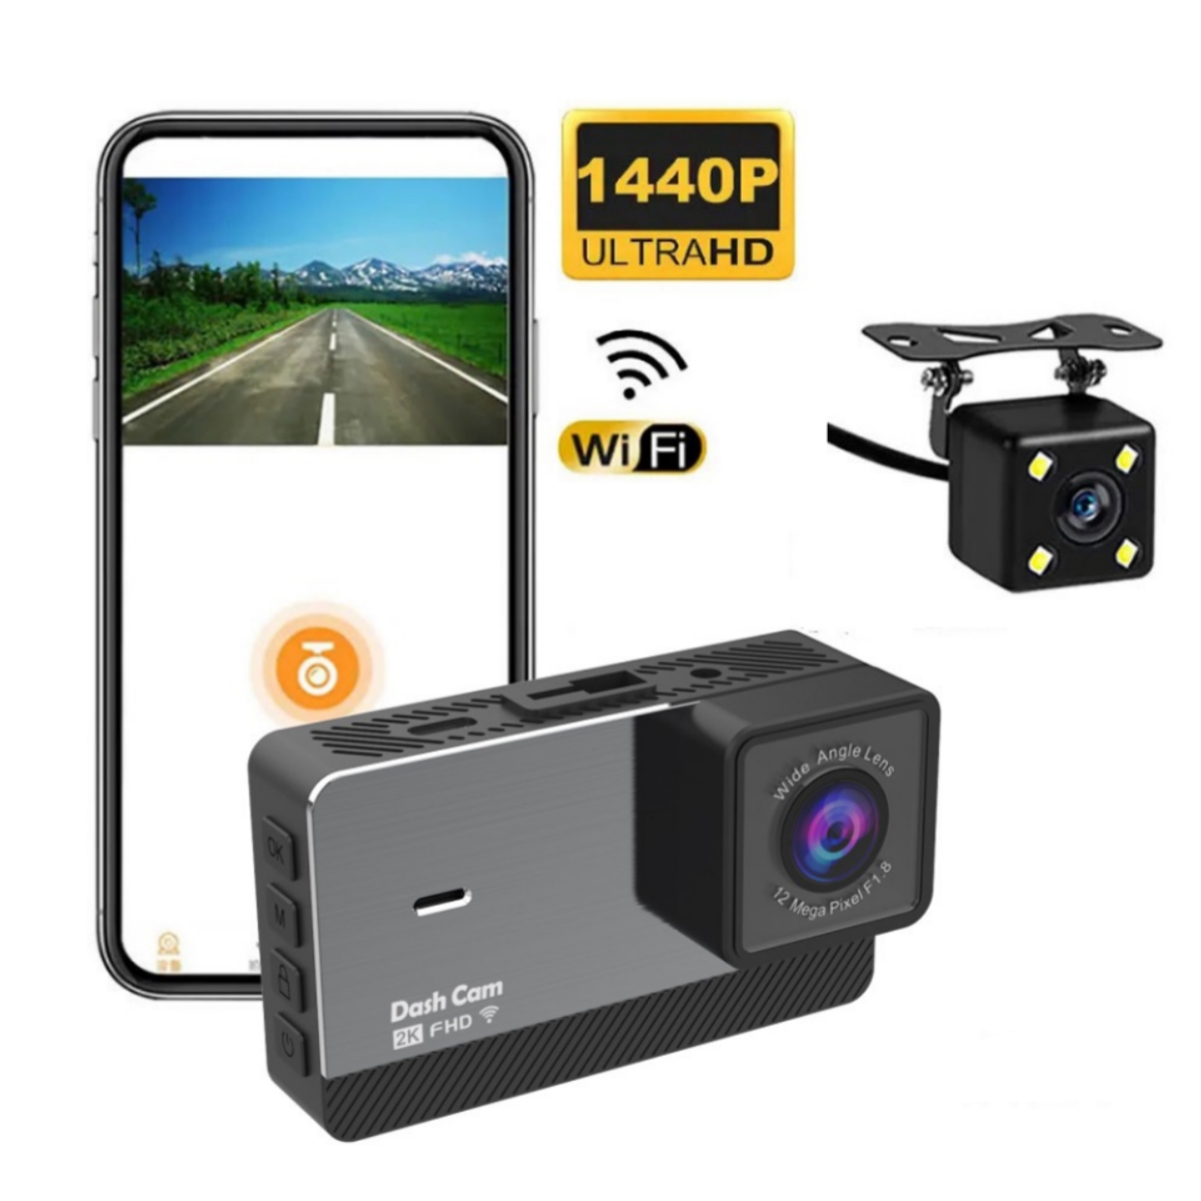

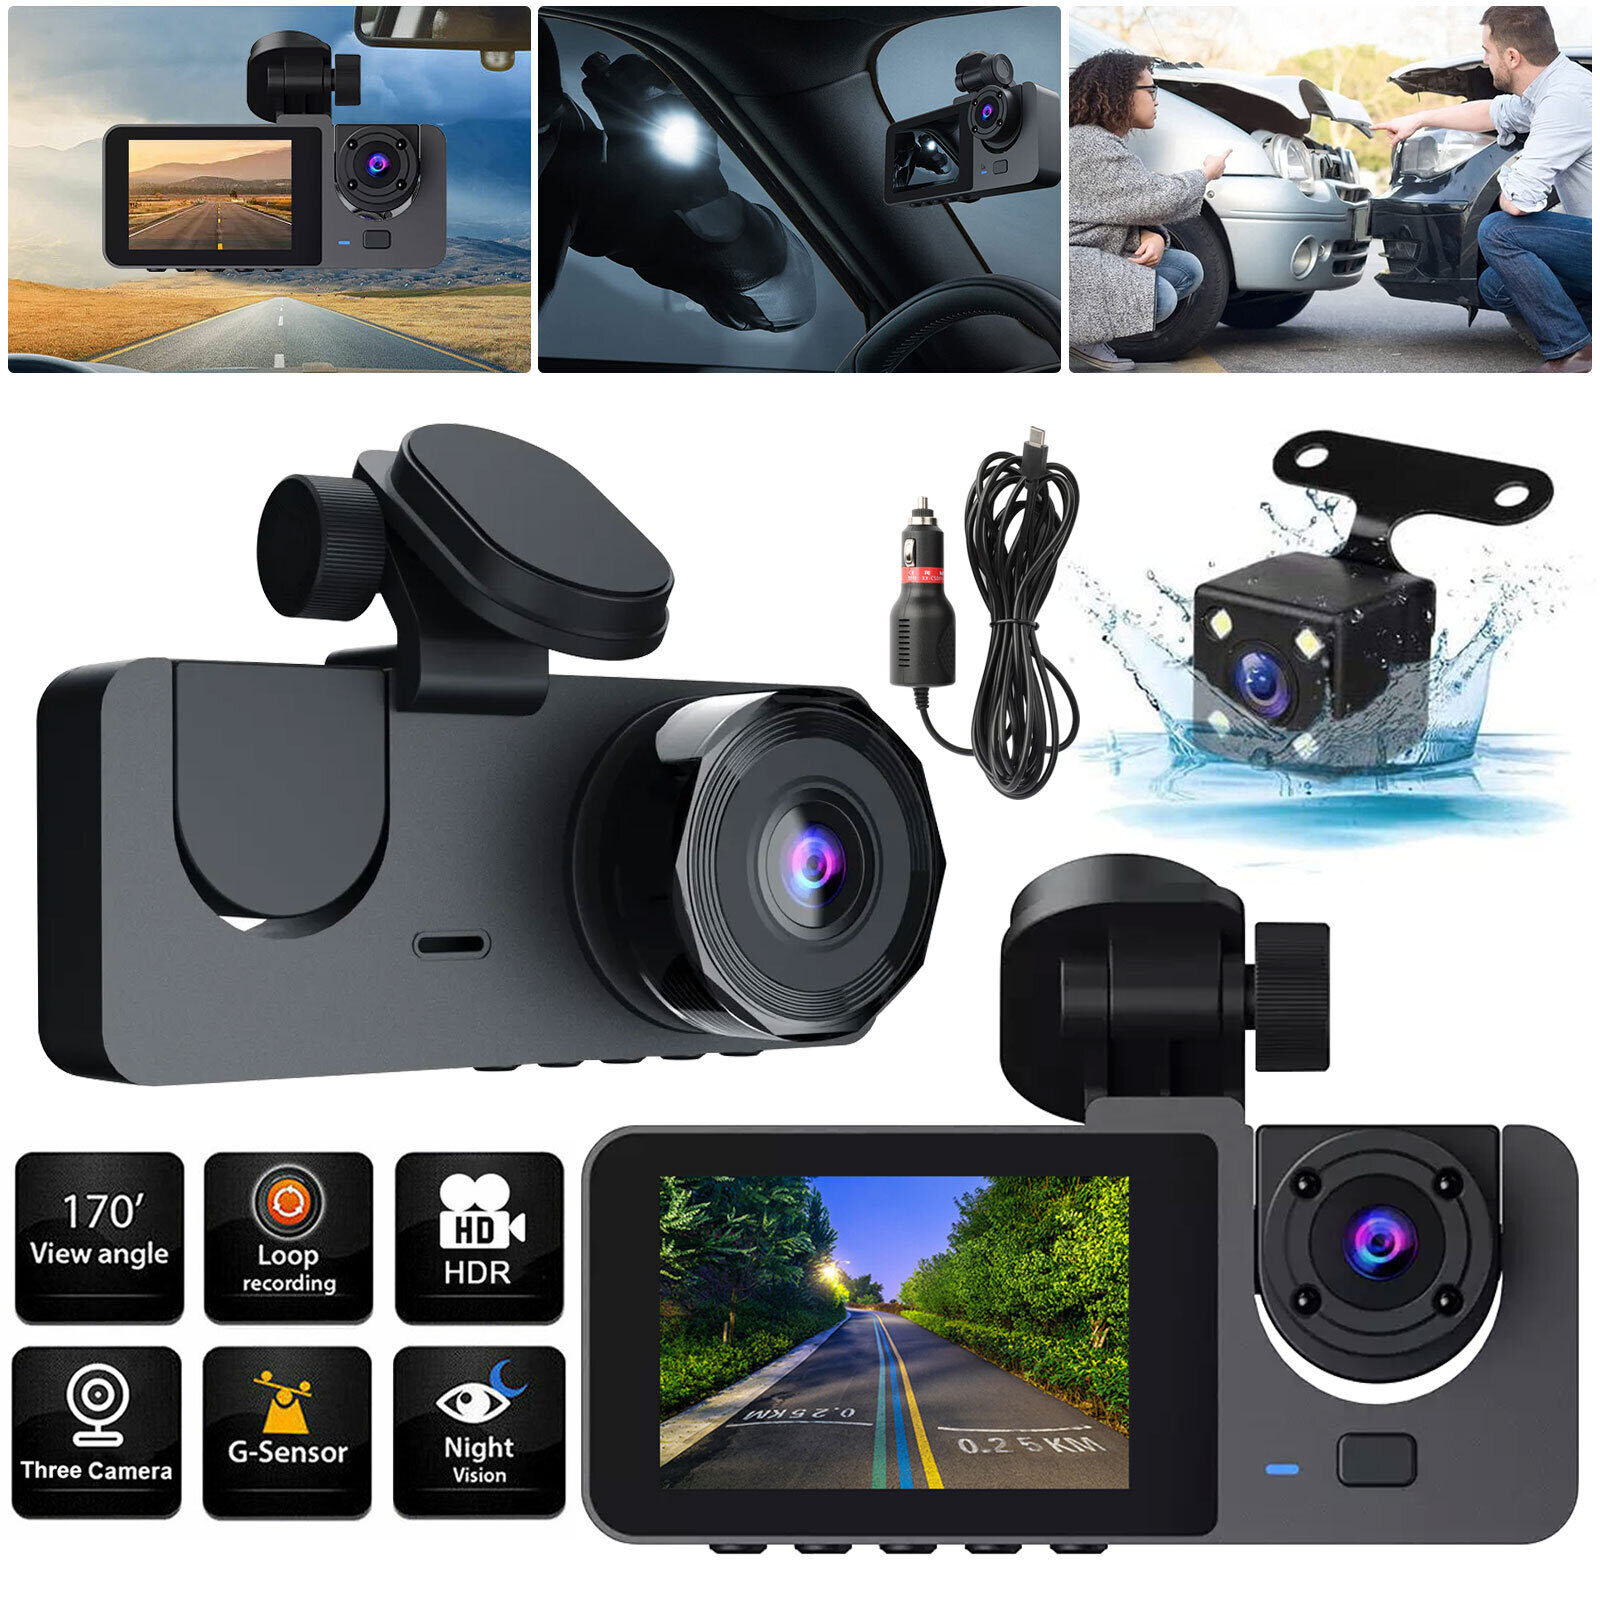
2k HD Dual Recording Driving Recorder,
How to Use the 2k HD Driving Recorder
Step 1: Installation
- Attach the suction cup mount to the windshield.
- Place the driving recorder on the mount and secure it.
- Connect the power cable to the driving recorder and the car’s power outlet.
Step 2: Powering On
- Press the power button on the driving recorder to turn it on.
- The screen will display the recording status and menu options.
Step 3: Adjusting Settings
- Use the arrow buttons to navigate through the menu options.
- Press the OK/Enter button to select an option.
- Adjust settings such as video resolution, loop recording, motion detection, etc.
Step 4: Recording Videos
- Ensure that the driving recorder is correctly positioned to capture the road.
- Press the record button to start recording.
- A red dot or indicator will appear on the screen to indicate recording.
- Press the record button again to stop recording.
Step 5: Viewing Footage
- Press the playback button to access the recorded videos.
- Use the arrow buttons to navigate through the footage.
- Press the OK/Enter button to play or pause a video.
Step 6: Connecting to Mobile Phone
- Enable Wi-Fi on both the driving recorder and your mobile phone.
- Search for available Wi-Fi networks on your phone and connect to the driving recorder’s network.
- Open the dedicated app on your phone and follow the on-screen instructions to establish the connection.
Step 7: Reverse Mode
- Connect the driving recorder’s rear camera to the rear of your vehicle.
- When the car is in reverse gear, the screen will automatically switch to display the rear road image.
If you encounter any issues or have questions, please refer to the user manual or contact our customer support for assistance.
, ,



Reviews
There are no reviews yet.