
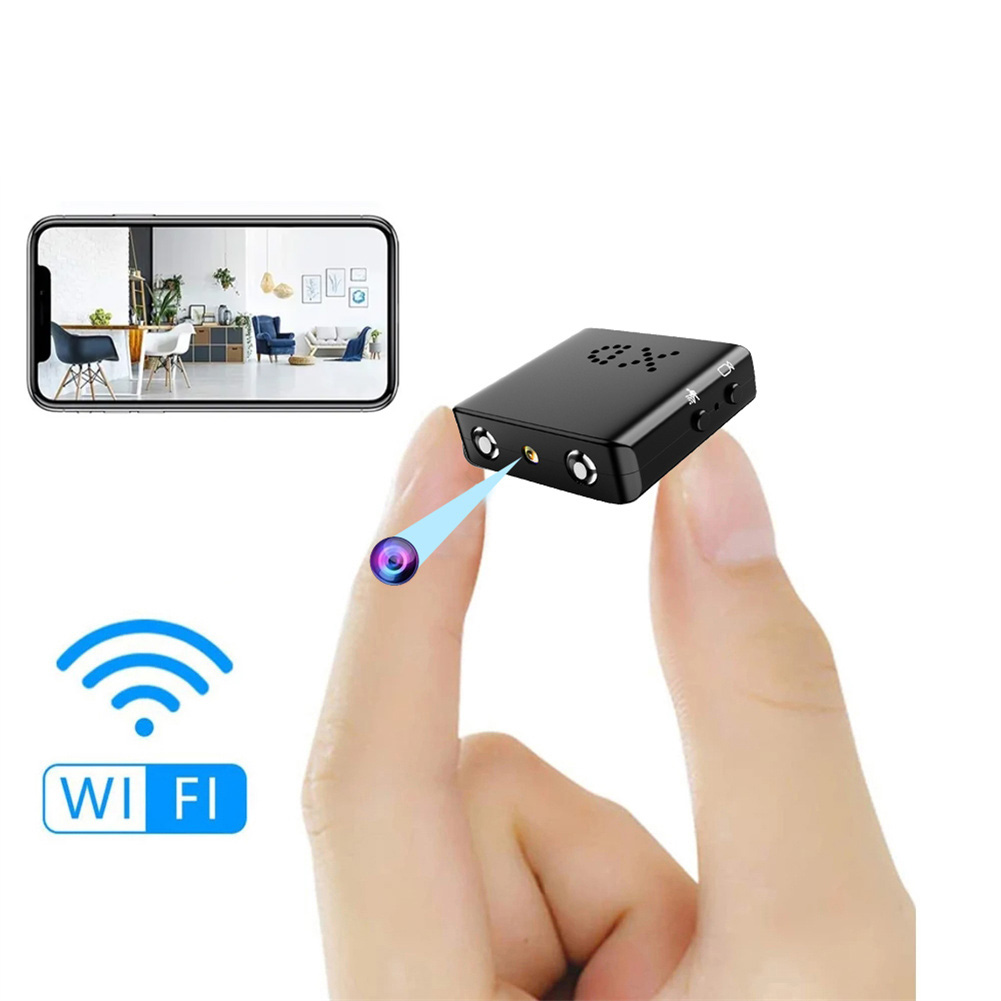

Bkw1 Hidden Camera – Ultra Compact Mini WiFi 1080P IR-Cutting Camera with Night Vision, Motion Detection, and Battery-Free Operation,
How to Use the BKW1 Hidden Camera
Step 1: Charging the Camera
- Connect the mini camera to a USB device, such as a mobile power bank or USB plug, using the provided USB cable.
- Ensure that the camera is fully charged before using for the first time.
Step 2: Connecting to Wi-Fi
- Download and install the app recommended by the product manufacturer on your smartphone.
- Open the app and create an account (if necessary).
- Follow the on-screen instructions to connect the camera to your Wi-Fi network.
Step 3: Mounting the Camera
- Choose a suitable location for the camera.
- Ensure that the camera is positioned in a way that captures the desired area to be monitored.
- Use the provided adhesive or mounting bracket to securely attach the camera to a surface.
Step 4: Adjusting Settings
- Open the app on your smartphone and connect to the camera.
- Access the camera settings within the app to customize various options such as video resolution, motion detection sensitivity, and night vision settings.
Step 5: Viewing Live Video
- Open the app on your smartphone and connect to the camera.
- Once connected, you will be able to view the live video feed from the camera in real-time.
- You can access the live video from anywhere in the world as long as you have an internet connection.
Step 6: Recording and Playback
- Insert a memory card (not included) into the camera for video recording.
- Configure the camera settings to enable video recording.
- Recordings will be stored on the memory card.
- To playback recorded videos, go to the app’s playback section and select the desired video file.
Step 7: Reviewing and Managing Recordings
- Access the app on your smartphone and connect to the camera.
- Go to the app’s recordings or gallery section.
- You will be able to review and manage the recorded videos on the memory card.
- Older files will be overwritten when the memory card is full, so make sure to regularly backup important recordings if needed.
Note: Please refer to the product manual for detailed instructions and troubleshooting tips.
, ,


Reviews
There are no reviews yet.